Introduction
Imagine harvesting ripe tomatoes in November, overwintering tender herbs without bringing them indoors, or coaxing an early spring crop of greens weeks before your neighbors even think about planting. This isn't wishful thinking—it's the power of understanding and manipulating garden microclimates.
Every garden contains invisible pockets of warmth and cold, sheltered zones and wind tunnels, areas that hold moisture and spots that dry out quickly. Learning to read these subtle variations—and strategically enhance them—transforms what's possible in your growing space. Whether you're battling short seasons in the north, scorching summers in the south, or unpredictable weather anywhere in between, microclimate mastery gives you tools to work with nature rather than against it.
In this comprehensive guide, you'll discover the science behind microclimates, learn practical techniques for creating and leveraging them, and develop the observation skills to identify hidden growing opportunities in your own garden. From simple strategies like strategic plant placement to more advanced approaches involving thermal mass and protective structures, these garden microclimate strategies will help you extend your seasons, improve your yields, and deepen your connection to the land you cultivate.
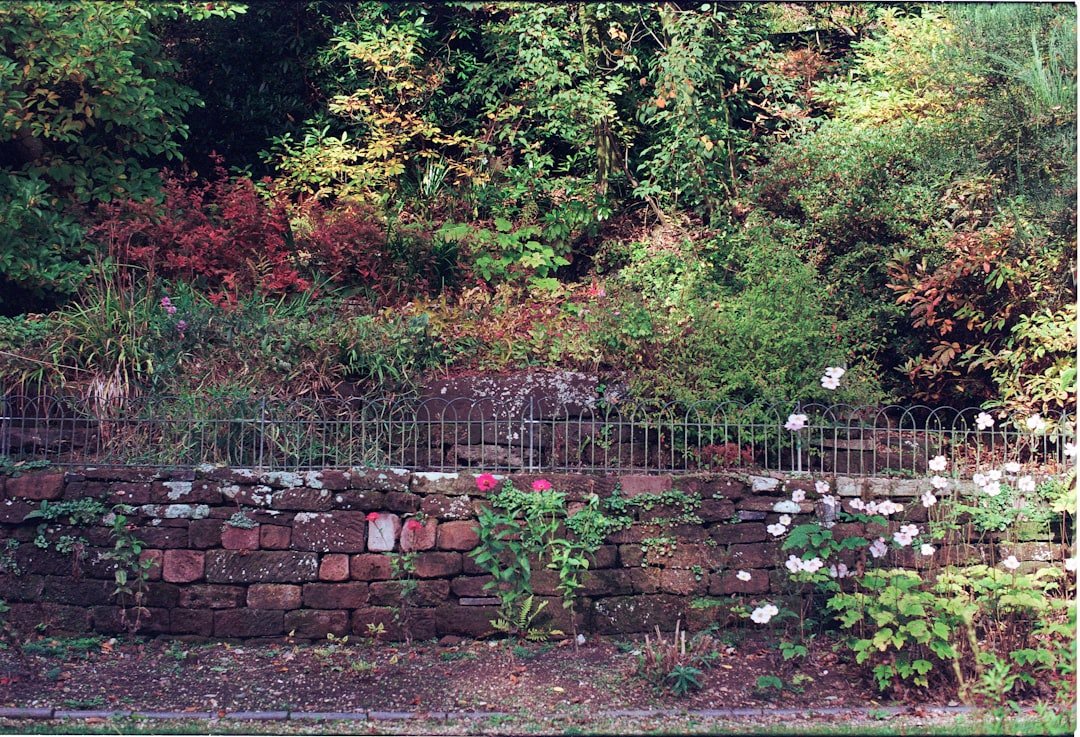
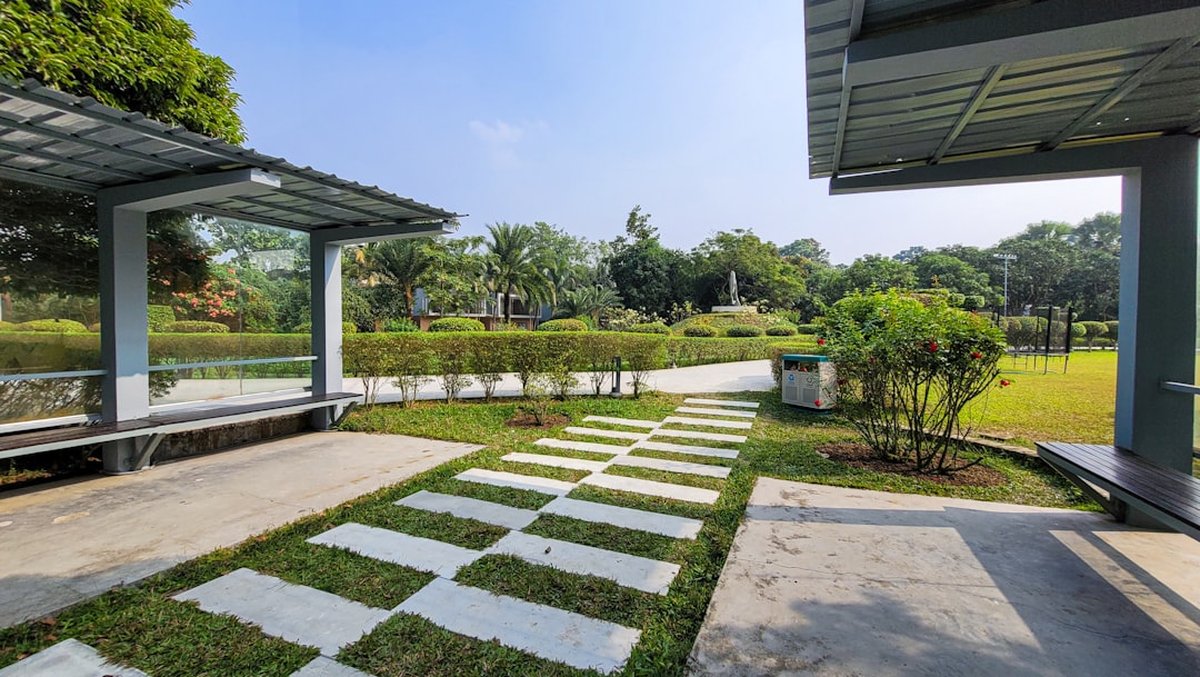
Photo by Tanya Barrow on Unsplash
What Are Garden Microclimates?
A microclimate is a localized atmospheric zone where conditions differ from the surrounding area. While your regional climate determines broad patterns—average temperatures, rainfall, frost dates—microclimates exist within that framework at a much smaller scale. They can span just a few square feet or cover a larger section of your property.
Think of your garden as a patchwork of distinct growing environments rather than a single uniform space. The south side of your house absorbs and radiates heat differently than the north side. A low-lying corner collects cold air that drains downhill on still nights. The area beneath a mature oak tree stays cooler and moister than the exposed lawn nearby.
The Four Factors That Create Microclimates
Temperature varies based on sun exposure, elevation, proximity to structures, and air circulation. A spot against a brick wall might be 10-15°F warmer than an exposed area just twenty feet away.
Light changes throughout your garden based on shadows cast by buildings, fences, trees, and even neighboring properties. Some areas receive full sun all day while others get dappled shade or only morning light.
Wind patterns are redirected by structures, plantings, and terrain. Sheltered pockets protect tender plants, while exposed areas experience more evaporation and physical stress on plants.
Moisture levels fluctuate based on drainage, soil composition, proximity to downspouts or hardscape, and shade patterns. Some garden zones stay consistently moist while others dry out quickly.
Natural vs. Created Microclimates
Some microclimates occur naturally in your landscape. A depression in the terrain creates a frost pocket where cold air settles. A rocky outcrop absorbs heat during the day and releases it at night. A grove of evergreens blocks prevailing winds.
Other microclimates are created—intentionally or accidentally—through human activity. Your house, garage, fences, and outbuildings all influence growing conditions nearby. Paved surfaces absorb and radiate heat. Even your gardening choices, like installing raised beds or planting hedgerows, create new microclimates.
The key to microclimate mastery is learning to observe both types, understanding how they function, and strategically enhancing them to serve your growing goals.
Why Garden Microclimate Strategies Matter
Understanding and leveraging microclimates isn't just an interesting gardening concept—it's a practical approach that delivers tangible benefits for growers at every level. As climate patterns become increasingly unpredictable, microclimate management becomes even more valuable as an adaptation strategy.
Extend Your Growing Season
The most immediate benefit of microclimate mastery is a longer harvest window. By protecting plants from early fall frosts and late spring freezes, you can add weeks or even months to your productive season. In cold climates, this might mean the difference between harvesting one tomato crop and two. In mild climates, it could enable true year-round production.
Warm microclimates let you start heat-loving crops earlier in spring, giving them more time to mature before fall. Cool microclimates help you grow heat-sensitive crops like lettuce and spinach through summer months when they'd normally bolt.
Grow What Shouldn't Grow in Your Zone
Every gardener has coveted plants that are "one zone too tender" for their location. Microclimate manipulation can shift your effective growing zone by a full hardiness level. Gardeners in Zone 6 successfully overwinter Zone 7 plants in protected spots. Zone 9 growers keep Zone 10 tropicals alive through winter with strategic placement.
This zone-pushing opens up possibilities for growing specialty crops, experimenting with unusual varieties, and enjoying plants that would otherwise require moving to a different region.
- Harvest fresh produce weeks or months longer each year
- Grow plants outside your normal hardiness zone
- Reduce crop losses from unexpected weather events
- Lower input costs by working with natural systems
- Increase biodiversity by creating varied growing conditions
- Build resilience against climate variability
- Requires initial time investment to observe and map your garden
- Some techniques involve upfront costs for materials
- May limit flexibility in garden layout
- Structures like cold frames need regular maintenance
- Warm microclimates can harbor overwintering pests
Improve Plant Health and Yields
Plants perform best when their growing conditions match their preferences. A pepper plant in a warm, sheltered spot will outproduce one struggling in a cool, windy location—even if they're the same variety planted on the same day. By matching plants to appropriate microclimates, you optimize their potential without extra inputs.
Microclimate awareness also helps you avoid placing plants in conditions that stress them. Shade-loving plants won't scorch in afternoon sun. Drought-tolerant species won't suffer in soggy spots. This right-plant-right-place approach reduces disease pressure, pest problems, and the need for interventions.
Build Climate Resilience
As weather patterns become more extreme and less predictable, gardens with diverse microclimates demonstrate greater resilience. A late frost might damage plants in exposed areas while those in protected spots survive. A heat wave might stress sun-baked beds while shaded areas continue producing.
This resilience extends to water management as well. Gardens designed with microclimate awareness naturally include areas that collect and retain moisture alongside zones that drain quickly—a built-in buffer against both drought and flooding.
How to Identify and Map Your Garden's Microclimates
Before you can leverage microclimates, you need to discover what already exists in your garden. This requires deliberate observation across different seasons and conditions. The process is part science, part detective work—and it's genuinely fascinating once you start noticing patterns you've always overlooked.
Start With Sun Mapping
Solar exposure is the foundation of most microclimates. Track how sunlight moves across your property throughout the day and across seasons. In summer, the sun travels high across the sky, casting short shadows. In winter, it stays lower, creating long shadows that can shade areas sunny in summer.
Simple observation works well: note which areas receive morning sun, afternoon sun, full day sun, dappled shade, or deep shade. For more precision, check your garden at the same time on the summer solstice, fall equinox, and winter solstice to see how patterns shift.
Remember that deciduous trees create dramatically different conditions when leafed out versus bare. An area that's deeply shaded in July might receive full winter sun—perfect for early spring crops.
Monitor Temperature Variations
Invest in several inexpensive thermometers or a wireless temperature monitoring system with multiple sensors. Place them in different garden locations: against the house foundation, in the middle of the lawn, in low spots, near large rocks or masonry, and in exposed areas.
Compare readings at different times: early morning (to catch overnight lows), midday, and evening. Do this during different weather conditions—clear nights, cloudy nights, windy days, still days. You'll quickly discover which spots stay warmest overnight and which cool fastest.
-
Include buildings, fences, large trees, slopes, and existing garden beds. Graph paper or a simple sketch works fine.
-
Observe shadows throughout the day in both summer and winter. Note areas of full sun (6+ hours), partial sun (3-6 hours), and shade.
-
Notice where prevailing winds come from and which areas are sheltered by structures or plantings. Watch how wind moves through on blustery days.
-
On cold mornings, observe where frost forms first and lingers longest. These are your coldest zones. Note areas that stay frost-free longer.
-
After rain, observe where water collects, where it drains quickly, and where soil stays moist longest. Check several days after rain too.
-
Identify south-facing walls, pavement, rocks, and dark-colored structures that store and radiate heat.
-
Place thermometers in various locations and compare overnight lows. Even small differences matter for frost protection.
-
Conditions change throughout the year. Update your microclimate map as you notice seasonal patterns.
Understand Cold Air Drainage
Cold air is denser than warm air and flows downhill like water. On calm, clear nights when radiational cooling is strongest, cold air drains from higher elevations into low spots where it pools. This creates frost pockets that can be 5-10°F colder than slopes just above them.
Identify where cold air enters and exits your property. A fence, hedge, or building at the bottom of a slope can dam cold air, creating a deeper frost pocket. Conversely, gaps in barriers allow cold air to drain away, keeping areas warmer.
Observe Your Garden Through the Seasons
A single observation gives you a snapshot. True microclimate understanding requires watching patterns unfold across an entire year or more. Keep a garden journal noting:
- First and last frost dates in different garden zones
- Where snow melts first and last
- Which areas dry out fastest after rain
- Where wind damage occurs
- Which spots stay coolest in summer heat
- Where certain plants thrive or struggle
Over time, you'll develop an intuitive sense of your garden's microclimates that informs every planting decision.

Photo by Bernd 📷 Dittrich on Unsplash
Techniques for Creating Warm Microclimates
Once you understand existing microclimates, you can begin creating new ones or enhancing what nature provides. Warm microclimates are the most sought-after for extending seasons and growing heat-loving crops. These techniques range from simple and free to more involved investments.
Leverage Thermal Mass
Thermal mass refers to materials that absorb heat during the day and release it slowly at night. This buffering effect moderates temperature swings and keeps nearby plants warmer during critical overnight hours.
Stone and masonry walls are classic thermal mass. A south-facing stone wall can create a Mediterranean-like microclimate even in northern gardens. The wall absorbs solar radiation all day and radiates warmth through the evening and night.
Water has excellent thermal mass properties. Large containers of water, painted black to absorb more heat, can be placed among plants. Some gardeners use water-filled tubes or barrels inside greenhouses and cold frames. Water walls—rows of water-filled containers—create surprisingly effective microclimates.
Dark-colored rocks and gravel absorb heat and can raise soil and air temperatures in their vicinity. A gravel mulch around heat-loving plants like peppers and melons creates a warmer growing environment than organic mulch.
Raised beds with masonry sides combine thermal mass with improved drainage and faster soil warming in spring. Even wooden raised beds warm faster than in-ground plantings because more surface area is exposed to air and sun.
| Technique | Cost | Effectiveness | Best For |
|---|---|---|---|
| South-facing wall planting | Free-$ | High | Tender perennials, espalier fruit, heat-lovers |
| Water-filled containers | $ | Medium-High | Cold frames, greenhouses, row covers |
| Dark gravel mulch | $ | Medium | Peppers, melons, tomatoes, herbs |
| Raised masonry beds | $$$ | High | Permanent installations, zone-pushing |
| Cold frames | $$ | High | Season extension, hardening off, overwintering |
| Row covers | $ | Medium | Large-scale protection, pest exclusion |
Build Protective Structures
Cold frames are essentially bottomless boxes with transparent lids that capture solar heat. Traditional designs use old windows as lids; modern versions often use polycarbonate panels. A cold frame can extend your season by 4-8 weeks and allow year-round salad production in many climates.
Position cold frames facing south at a slight angle to maximize sun capture. Ventilation is critical—temperatures inside can soar on sunny days, even in winter. Props or automatic vent openers prevent overheating.
Cloches are individual plant covers, from simple plastic milk jugs with bottoms removed to elegant glass bell jars. They protect single plants or small groups and can be moved as needed. Water-filled cloches like Wall-O-Waters are especially effective, combining protection with thermal mass.
Low tunnels (also called caterpillar tunnels) use hoops covered with plastic or row cover fabric to protect entire beds. They're more versatile than cold frames and easier to scale up. Plastic traps more heat; fabric allows air and water penetration while providing frost protection.
High tunnels and hoop houses are unheated greenhouses that can shift your effective growing zone dramatically. Even without supplemental heat, they enable year-round growing in all but the coldest climates. They represent a significant investment but deliver substantial returns for serious growers.
Strategic Planting Design
Windbreaks reduce wind chill and physical stress on plants while slowing evaporation. Living windbreaks (hedges, shrub borders, rows of evergreens) provide permanent protection and improve over time. Artificial windbreaks (fences, screens, burlap barriers) offer immediate results.
A windbreak protects an area roughly 10 times its height on the leeward side. A 6-foot fence shelters about 60 feet of garden space. Permeable windbreaks (living plants, slatted fences) actually outperform solid barriers, which can create turbulence on the lee side.
Nurse plants are larger plants that shelter smaller ones. A row of corn protects tender beans from wind. Sunflowers shade lettuce from afternoon sun. This companion planting approach creates microclimates within beds.
Slope and aspect dramatically influence temperature. South-facing slopes receive more direct solar radiation and warm faster in spring. North-facing slopes stay cooler and hold snow longer. Even modest slopes create meaningful differences. If you have sloped land, capitalize on these natural variations.
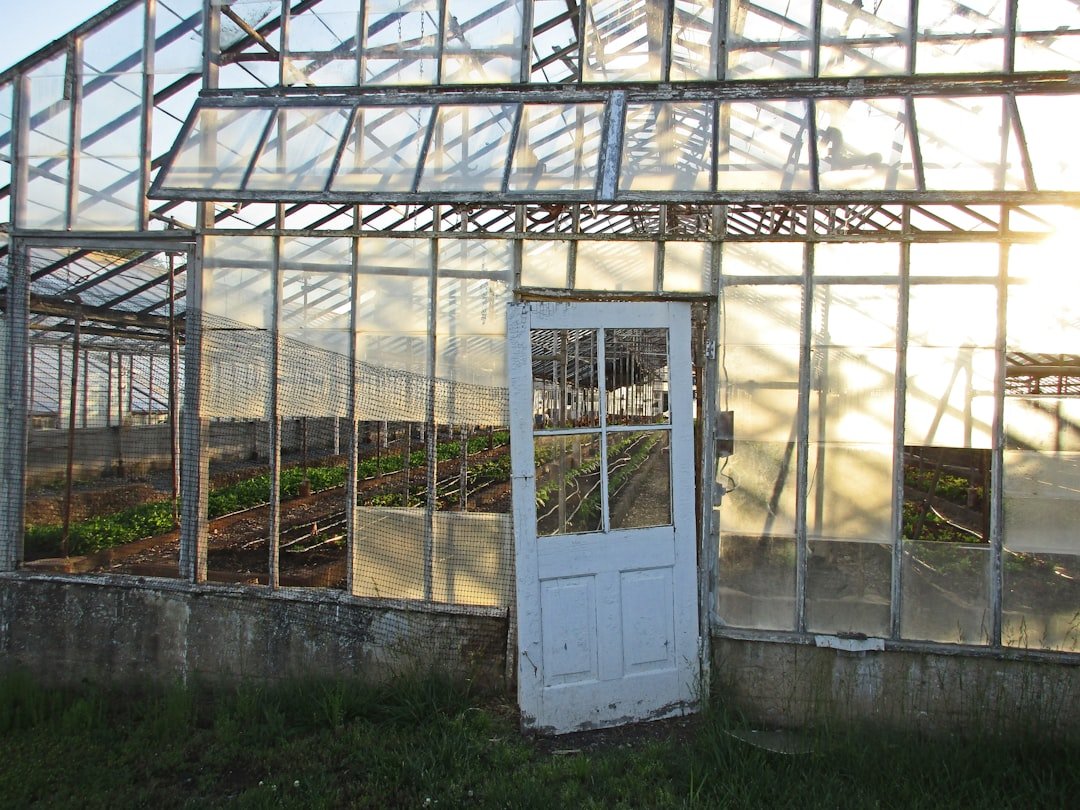
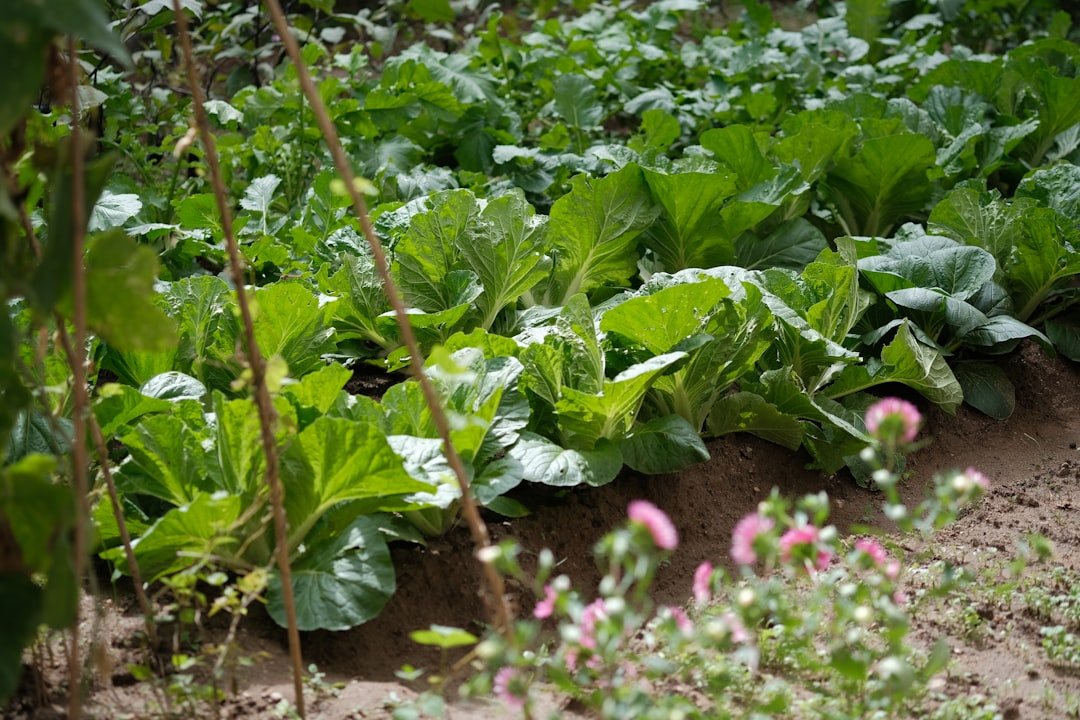
Photo by Wisely Woven on Unsplash
Techniques for Creating Cool Microclimates
While most gardeners focus on capturing warmth, cool microclimates are equally valuable. They extend production of cool-season crops through summer heat, protect plants from scorching, and provide relief for gardeners working during hot weather. In warming climates, cooling techniques are becoming increasingly essential.
Maximize Shade
Strategic tree placement offers the most substantial cooling. A single well-placed tree can lower temperatures beneath its canopy by 10-15°F. Deciduous trees are ideal for many applications—they provide summer shade while allowing winter sun through bare branches.
Consider sun angles when planting trees for shade. Trees to the south cast shadows across the largest area but may shade winter gardens too much. Trees to the west block harsh afternoon sun during the hottest part of the day.
Shade cloth provides instant adjustable shade. Available in different densities (30%, 50%, 70%, etc.), shade cloth can be deployed when temperatures spike and removed when conditions moderate. Draped over hoops or frames, it creates shaded growing space for heat-sensitive crops.
Living shade structures like arbors covered with vines combine cooling with productivity. A bean or cucumber vine trained over lettuce creates dappled shade while producing a harvest overhead. Tall crops like corn and sunflowers can be interplanted to shade shorter, heat-sensitive companions.
Use Water for Cooling
Water absorbs heat as it evaporates, creating cooling effects. Evaporative cooling strategies range from simple frequent watering to misting systems.
Water in the morning so evaporation cools plants during the hottest afternoon hours. Mulch after watering to slow evaporation and keep soil cool. Drip irrigation under mulch keeps root zones cool and moist without wetting foliage.
Ponds and water features moderate temperatures in their vicinity. Even a small water garden or container pond creates a cooler zone. The effect increases with water surface area and nearby plantings.
Soil and Mulch Management
Organic mulch insulates soil from temperature extremes. A thick layer (3-4 inches) of straw, leaves, or wood chips keeps soil cool during heat waves. Light-colored mulches reflect more sun and stay cooler than dark materials.
Living mulch—low-growing cover crops between rows—shades soil while adding organic matter. White clover, for example, keeps soil cool, fixes nitrogen, and attracts beneficial insects.
Avoid bare soil in summer gardens. Exposed dark soil absorbs tremendous heat, raising temperatures in the entire bed. Mulch, cover crops, or dense plantings moderate this effect.
Cool-Season Success in Summer Heat
With smart microclimate management, you can harvest lettuce, spinach, cilantro, and other cool-season crops right through summer months when they'd normally bolt and turn bitter.
The key is combining multiple cooling strategies:
- Position beds on the north side of taller crops or structures
- Apply 3-4 inches of light-colored organic mulch
- Install 50% shade cloth from late morning through afternoon
- Water deeply in early morning
- Choose bolt-resistant and heat-tolerant varieties
- Succession plant every 2-3 weeks for continuous harvest
With these techniques, gardeners in Zone 7 and warmer routinely harvest salad greens year-round—something that seems impossible when you first consider summer's blazing heat.
Common Mistakes to Avoid
Even experienced gardeners make microclimate mistakes. Understanding these common pitfalls helps you avoid setbacks and make the most of your microclimate strategies.
Overestimating Protection
A warm microclimate helps, but it doesn't perform miracles. Gardeners often push zone limits too far, losing plants to cold snaps that exceed their protection's capacity. A south-facing wall might keep a Zone 7 plant alive in Zone 6, but it won't save a Zone 9 tropical.
Start conservatively when zone-pushing. Try slightly tender plants before dramatically tender ones. Have backup protection ready (frost cloth, cloches) for unexpected cold events. And accept that some experiments will fail—that's part of learning your garden's true limits.
Ignoring Ventilation
Cold frames, cloches, and tunnels can overheat rapidly. On a sunny 40°F day, an unvented cold frame can exceed 100°F inside—cooking plants rather than protecting them. This kills more seedlings than the cold ever would.
Automatic vent openers are excellent investments for cold frames. Otherwise, check covered plantings at least twice daily and prop open lids when temperatures rise. Even in winter, ventilation is usually needed on sunny days.
Creating Pest Havens
Warm, sheltered microclimates don't just benefit plants—they also provide overwintering habitat for pests and diseases. Slug populations often explode in moist, protected areas. Aphids survive winter in sheltered spots and emerge early to attack spring plantings. Fungal diseases thrive in still, humid conditions.
Balance protection with good garden hygiene. Remove debris that shelters pests. Ensure adequate air circulation even in protected areas. Monitor closely for pest problems and address them early.
Neglecting Soil Differences
Microclimates affect soil as well as air. A warm spot against a brick wall dries out faster than an exposed area because reflected heat increases evaporation. A cool, shaded zone may stay too wet for plants that need good drainage.
Amend soil and adjust watering to match each microclimate's characteristics. The sun-baked gravel garden needs more frequent irrigation and drought-tolerant plants. The cool, moist shade bed needs plants that tolerate wet feet.
Forgetting Seasonal Shifts
The perfect summer microclimate may be problematic in winter, and vice versa. A spot shaded by a deciduous tree is cool and protected in summer but fully exposed once leaves fall. An area against the south wall is ideal for spring warmth but may bake tender plants in summer.
Plan for seasonal changes. Use mobile containers to move plants between seasonal microclimates. Choose permanent plantings that can handle a site's full range of conditions, not just one season's best features.
Overlooking Wind Patterns
Gardeners often focus on temperature while ignoring wind, which affects plants equally. Wind increases evaporation, causing drought stress even in moist soil. It physically damages leaves and stems. Wind chill lowers effective temperatures below actual air temperature.
A thermometer might show acceptable temperatures while wind makes conditions much harsher than they appear. Always consider wind exposure when evaluating microclimates and planning protective measures.
Creating New Problems While Solving Old Ones
Microclimate modifications can have unintended consequences. A windbreak might block beneficial airflow, creating stagnant conditions that foster disease. Dark mulch that warms soil might overheat in summer. A water feature meant for cooling could breed mosquitoes.
Think through potential side effects before implementing changes. Start with small-scale trials. Monitor results and adjust as needed rather than committing to large permanent installations immediately.
Best Practices for Year-Round Microclimate Management
Microclimate mastery isn't a one-time project—it's an ongoing practice that evolves with your garden and your skills. These expert recommendations will help you develop and refine your approach over time.
Layer Your Strategies
The most effective microclimate management combines multiple techniques. A south-facing raised bed with a stone wall backing, dark gravel mulch, and a removable cold frame creates far more protection than any single element alone.
Think in layers: site selection provides the foundation, built structures add enhancement, temporary covers offer flexibility, and plant choices complete the system. Each layer builds on the others.
Invest in Observation
Your most valuable tool is attention. The more closely you observe your garden, the better you'll understand its microclimates. Watch how frost forms on cold mornings. Notice which plants wake up earliest in spring and which linger in dormancy. See where snow melts first and where it persists.
Keep records. A garden journal tracking frost dates, temperature observations, and plant performance builds invaluable knowledge over years. Photos taken from the same spots in different seasons reveal patterns you might otherwise miss.
-
Every planting decision should consider the specific microclimate of that location. Don't plant randomly and hope for the best.
-
Your understanding deepens each year. Revise your map as you learn more and as conditions change.
-
Keep frost cloth, row cover, or spare cloches on hand for unexpected weather. Being prepared prevents losses.
-
Spring and fall bring the biggest temperature swings. Check cold frames and tunnels morning and afternoon.
-
Cold frames need venting, tunnels need securing in wind, water containers need filling. Design systems you'll actually maintain.
-
Test techniques on a small scale before major investments. What works in one garden may not work in another.
-
A feature that helps in one season shouldn't cause problems in another. Think through the full year.
-
Experienced gardeners in your area have discovered what works in your specific climate. Learn from their knowledge.
Design for Flexibility
Climate is changing, and your garden's needs will evolve. Build flexibility into your microclimate strategies. Removable shade cloth beats permanent shade structures for most vegetable gardens. Mobile containers can shift between seasonal microclimates. Modular raised beds can be reconfigured as you learn.
Permanent features like walls and trees are worth careful planning because they're difficult to change. But even these can be designed for adaptability—a wall can support removable protective structures, and trees can be pruned to adjust shade patterns.
Balance Investment and Return
Some microclimate improvements cost nothing—observing frost patterns, positioning plants thoughtfully, using building shadows strategically. Others require significant investment in materials and labor.
Match your investment to your goals. A serious vegetable grower might justify the cost of a high tunnel. A casual gardener might achieve similar satisfaction with simple cold frames or row covers. Start with low-cost techniques and invest in infrastructure only when you've confirmed the value for your situation.
Think in Systems
The most sophisticated gardens treat microclimates as part of an integrated system. Water features provide cooling while supporting beneficial wildlife. Windbreaks shelter crops while producing berries or nuts. Stone walls store heat while defining garden rooms.
As you develop your microclimate strategies, look for opportunities to serve multiple functions with each element. This permaculture-inspired approach creates gardens that are more productive, more beautiful, and more resilient than single-purpose designs.
The garden teaches patience. Year by year, you learn its secrets—where frost settles, where warmth lingers, where life wants to flourish. Microclimate mastery isn't about conquering nature; it's about paying attention until nature shows you what's possible.
Frequently Asked Questions
Conclusion
Microclimate mastery transforms how you see your garden. What once appeared as a uniform growing space reveals itself as a complex mosaic of distinct environments, each with unique characteristics and possibilities. This shift in perception is the first step toward truly working with your land rather than against it.
The techniques covered in this guide—from thermal mass and protective structures to shade management and strategic planting—give you a toolkit for creating the growing conditions your crops need. But the real skill lies in observation: learning to read your garden's subtle cues, tracking patterns across seasons, and building deep knowledge of your particular place.
Start where you are with what you have. Map your existing microclimates this week. Try one new protective technique this season. Pay attention to what your garden teaches you. Over time, these small steps compound into transformative capability.
The reward extends beyond longer harvests and expanded plant palettes, though those benefits are real and satisfying. Microclimate mastery deepens your connection to the rhythms of your land and the patterns of your local climate. It builds resilience against uncertainty. And it reveals just how much abundance is possible when we learn to observe closely and work skillfully with natural systems.
Your garden holds more potential than you might imagine. Microclimates are the key to unlocking it.
Ready to Grow Year-Round?
Explore our complete seasonal growing guides for detailed planting calendars, variety recommendations, and harvest timing for every microclimate in your garden.
Browse Seasonal Guides
Comments
No comments yet. Be the first to comment!
Leave a Comment